How to Warm Up Your Hands Before Piano Practice

Quick Summary
Seven hand stretches for pianists before practice include gentle finger extensions, a thumb-to-fifth-finger reach, finger lifts, wrist circles, forearm rotation, a prayer stretch, and a finger spread and release. Run them in that order, moving slowly and stopping short of discomfort, for about seven minutes before you start playing.
- Start with gentle finger extensions, two passes per hand, keeping the knuckles soft.
- Work the ring and little fingers extra during finger lifts, since they often lag behind.
- Use a seven-minute sequence, with about one minute per stretch.
- Follow the stretches with two or three minutes of slow scales or chord shapes before repertoire.
- Stop any stretch that causes sharp pain, numbness, or tingling, and skip it for that session.
Table of Contents
- Why Pianists Warm Up Their Hands Before Practice
- Seven Hand Stretches for Pianists, in Practice-Ready Order
- A Timed Seven-Minute Warm-Up Sequence
- Hand Flexibility for Piano Without Sitting at the Keyboard
- Piano Warm-Ups for Beginners: Adapting the Routine
- When to Stop Stretching and Seek Professional Advice
- Building Your Own Pre-Practice Routine at the Piano
- Frequently Asked Questions
How to Warm Up Your Hands Before Piano Practice
Last Updated: November 5, 2026
Most pianists jump straight to scales, then wonder why their fingers feel stiff and clumsy by the second page. A few minutes of gentle hand preparation can make practice feel smoother and more controlled. The seven hand stretches below are a practical starting point for working on hand stretches for pianists before practice begins.
This guide walks through each stretch in a practice-ready order, shows how long the whole routine takes, and covers adaptations for beginners and players with limited mobility. It also explains when to stop and seek professional advice.
Why Pianists Warm Up Their Hands Before Practice
A warm-up gives your hands a chance to move through their full range before you ask them to play difficult passages. Cold fingers tend to feel tight, and tension often carries over into the wrist and forearm.
A common mistake is treating the warm-up as a race. Move slowly, notice how each joint feels, and stop well short of any discomfort. The goal is to wake up the hand, not to push it further than it wants to go.
- Gentle movement helps the hand feel ready to play.
- Slow, controlled motion makes it easier to notice tightness.
- A short routine works better than a long one you skip.
Seven Hand Stretches for Pianists, in Practice-Ready Order
The order matters. Start with the broadest movements, then move toward finer finger control, and finish with the wrist and forearm. Hold each stretch for a few slow breaths and move on without forcing anything. The routine below is written so you can read it once and run it from memory before practice.
Stretch 1: Gentle Finger Extensions
Place your palm flat on a table with your fingers together. Lift one finger at a time about an inch off the surface, pause for one slow breath, and set it down. Work from thumb to little finger, then back. Finish by spreading all five fingers apart for a count of three and bringing them together. Do two passes per hand. Keep the knuckles soft rather than locked.
Watch out: If your fingers curl under as you lift, the movement is too large, reduce the height and slow down.
Stretch 2: Thumb-to-Fifth-Finger Reach
Hold your hand palm-up and relaxed. Gently draw your thumb toward your little finger without letting the other fingers curl. Hold for two slow breaths, then release. This works the webbing between the thumb and index finger. Keep the movement small at first, a comfortable reach, not the widest one you can force. Do three slow repetitions per hand.
Stretch 3: Finger Lifts and Independent Movement
Rest your hand on the keyboard lid or a table, fingers curved as if on the keys. Lift one finger at a time while the others stay down, holding each lift for one breath. Pianists often find the ring and little fingers lag behind, so give them extra attention. Do one full pass of five lifts per hand, then a second pass focusing only on the ring and little fingers.
Stretch 4: Wrist Circles
Let your hand hang loosely from the wrist and draw slow circles in one direction, then the other. Keep the forearm still so the motion comes from the wrist. Make five circles each way per hand, and keep the circles small enough that the shoulder stays relaxed.
Stretch 5: Forearm Rotation
With your elbow bent at your side and your upper arm close to your body, turn your palm up and then down. Move slowly and keep the shoulder relaxed. Do five slow rotations per arm, pausing briefly at the top and bottom of each turn.
Stretch 6: Prayer Stretch
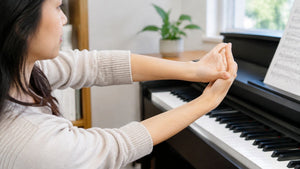
Press your palms together in front of your chest with your elbows out to the sides. Gently lower the hands until you feel a light stretch in the wrists and forearms. Hold for two slow breaths and release. Do two or three repetitions, lowering only as far as feels comfortable.
Watch out: If you feel pinching at the base of the thumb or in the wrist, raise the hands slightly, the stretch should feel like a gentle pull, not a pinch.
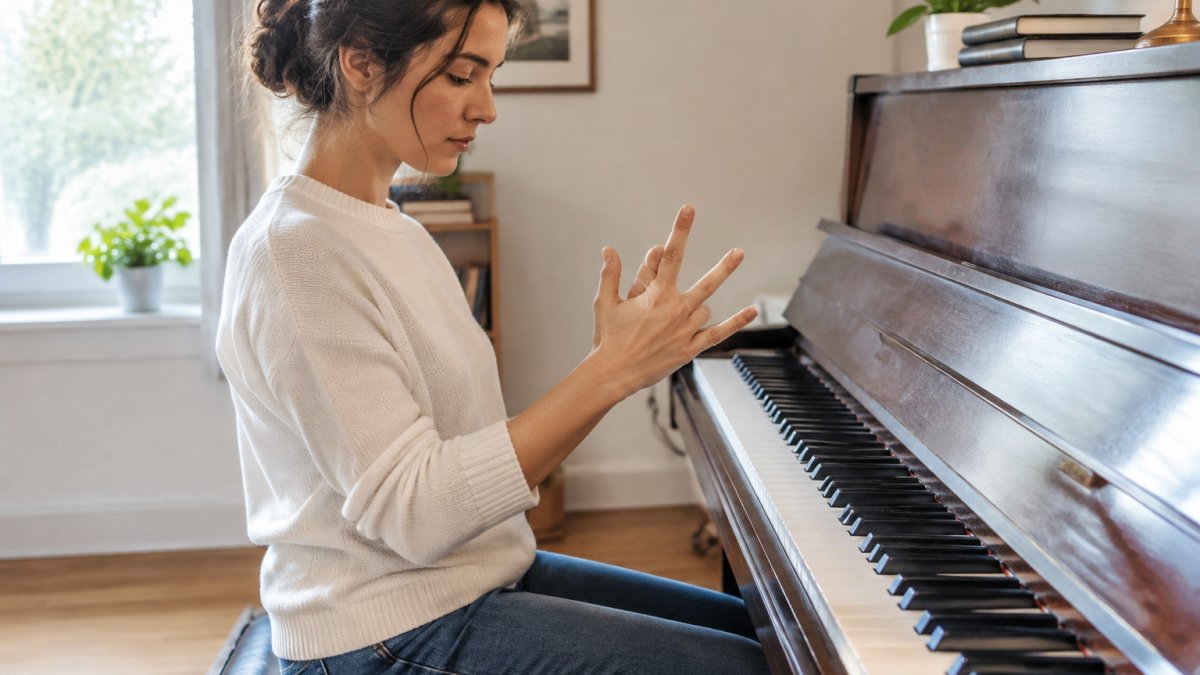
Stretch 7: Finger Spread and Release
Spread your fingers wide, hold for a count of three, then let them relax completely. Repeat slowly a few times to finish the sequence. End with your hands resting loosely in your lap for three slow breaths so you finish the routine relaxed rather than tense.
Adapting Each Stretch to Your Hand
Hand size and mobility vary widely, and the routine should follow your hand rather than the other way around. If your hand span is small, keep the thumb reach and finger extensions smaller and skip any spread that feels like a strain. If your fingers are very flexible, avoid pushing into end range, stop at the first sign of resistance rather than the last. Comfortable range is the target, and a smaller, controlled movement prepares the hand better than a forced wide one.
Here is a quick reference for the seven stretches, with what each one does and how long to spend on it.
Roleo Arm & Hand Massager – BACK IN STOCK! Effective, easy to use. Our →
Stretch |
Movement |
Time per session |
|---|---|---|
1. Gentle Finger Extensions |
Lift each finger about an inch, then spread and release |
Two passes per hand |
2. Thumb-to-Fifth-Finger Reach |
Draw the thumb toward the little finger |
Three slow reps per hand |
3. Finger Lifts |
Lift one finger at a time while others stay down |
One pass plus ring/little finger pass |
4. Wrist Circles |
Slow circles from the wrist, forearm still |
Five circles each way per hand |
5. Forearm Rotation |
Turn palm up and down, elbow at side |
Five slow rotations per arm |
6. Prayer Stretch |
Palms together, gently lower hands |
Two or three reps |
7. Finger Spread and Release |
Spread fingers, hold three counts, relax |
Three spreads, then rest |
A Timed Seven-Minute Warm-Up Sequence
Here is a practice-ready way to move through all seven stretches in about seven minutes. Each block lists the stretch, the time, and the repetitions to aim for. Move at your own pace within the block, the clock is a guide, not a target.
- Stretch 1, Gentle Finger Extensions: 1 minute, two passes per hand (thumb to little finger and back, then spread and release).
- Stretch 2, Thumb-to-Fifth-Finger Reach: 1 minute, three slow reaches per hand.
- Stretch 3, Finger Lifts and Independent Movement: 1 minute, one full pass plus a ring-and-little-finger pass per hand.
- Stretch 4, Wrist Circles: 1 minute, five circles each way per hand.
- Stretch 5, Forearm Rotation: 1 minute, five slow rotations per arm.
- Stretch 6, Prayer Stretch: 1 minute, two or three gentle repetitions.
- Stretch 7, Finger Spread and Release: 1 minute, three spreads with a three-count hold, then rest.
Shorten the timing if your hands feel fresh, or add a few slow repetitions to any stretch that feels tight. If you only have three minutes, run stretches 1, 4, and 7 in that order, they cover the broadest movement, the wrist, and the finish without skipping the warm-up arc.
Why This Order Works
The sequence moves from broad to fine and back to broad. Stretches 1 and 2 open the hand and webbing; stretch 3 asks for the finest control while the hand is still fresh; stretches 4 and 5 address the wrist and forearm, which carry tension from playing; stretches 6 and 7 close the routine with a gentle stretch and a full release. Finishing on a release rather than a hold means you walk to the piano relaxed rather than braced.
Pairing the Routine With Playing
A stretch routine prepares the hand to move, but it does not replace a gradual start at the keyboard. After the seven minutes, begin with slow scales or simple chord shapes for two or three minutes before moving into repertoire.
Watch out: If any stretch produces sharp pain, numbness, or tingling, stop that stretch and skip it for the session. Mild warmth is expected; pain is not. If discomfort lingers after rest or recurs across sessions, speak with a doctor or qualified professional before continuing the routine.
Hand Flexibility for Piano Without Sitting at the Keyboard
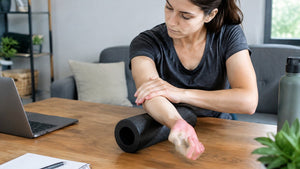
You don't always have time to sit at the piano before a session. A hand and forearm roller can help you loosen up at a desk-height surface.

Place the Roleo on a flat surface, such as a desk or table. For the best feel, set the device at about the same height as your keyboard, roughly the height of your elbows when you sit. Roll your hand, wrist, and forearm between the rollers, adjusting the pressure to a comfortable level. Many pianists use it as a quick break between practice blocks.
And if you install the included suction cups, the Roleo will stay in place on top of the piano so you can use it without holding it with your other hand!
Piano Warm-Ups for Beginners: Adapting the Routine
Beginners can use the same seven stretches with a few changes. Keep each movement smaller, and skip any stretch that feels uncomfortable. Use a lighter touch and fewer repetitions.
If your hand span is small, focus on the thumb reach and finger extensions rather than trying to match a more experienced player's stretch. If your fingers are very flexible, avoid pushing into end range. Gentle, controlled motion is enough for most players.
When to Stop Stretching and Seek Professional Advice
Stop any stretch that causes sharp pain, numbness, tingling, or swelling. Mild muscle warmth is normal, but pain is a signal to ease off.
Speak with a doctor or qualified professional if discomfort lingers after rest or if you notice recurring pain in the hands, wrists, or forearms.
Building Your Own Pre-Practice Routine at the Piano
Once you know the seven stretches, you can shape your own routine. Start with two or three stretches you find most useful, then add others as your hands feel more comfortable. Pair the warm-up with a short set of piano warm-up exercises, such as slow scales or simple chord shapes, to carry the looseness into playing.
Keep notes on what works. Over a few weeks, you may learn which stretches prepare your hands best and which ones you can skip. That kind of routine is what makes hand flexibility for piano a habit rather than a chore.
Frequently Asked Questions
How should pianists warm up their hands before playing?
Start with gentle movement away from the keyboard: slow finger extensions, relaxed wrist circles and a light thumb-to-fifth-finger reach. Move slowly and keep the forearm loose. Then move to the piano and play slow scales or simple five-finger patterns at a soft dynamic before tackling repertoire. The goal is comfortable readiness, not maximum range, so stop any stretch that produces sharp pain or numbness.
What are some easy piano warm-ups for beginners?
Beginners can start with a short sequence: open and close the hand five times, lift each finger in turn while the others rest on the keys, and play five-finger patterns hands separately at a slow tempo. These piano warm-ups for beginners build finger independence without demanding large reaches. Keep sessions short, around five minutes, and add time gradually as comfort grows.
How long should a piano warm-up take?
A practical piano warm-up routine takes about five to ten minutes. The seven stretches in this guide fit comfortably into that window when done slowly, with a few seconds on each. Longer sessions are not automatically better. If your hands feel tired, tight or sore during warm-up, shorten the routine and avoid pushing through discomfort.
What should pianists do if a stretch feels uncomfortable?
Ease off immediately. A stretch should feel like a gentle pull, never sharp pain, tingling or numbness. Reduce the range of motion, hold for a shorter time or skip that stretch for the day. Hypermobile players should be especially cautious with end-range stretches. If discomfort persists or returns with playing, a doctor or physiotherapist can assess your hands properly.
Ready to add a hands-on tool to your routine? Roleo Massager's portable design makes it easy to loosen up away from the keyboard. Buy Roleo and keep your hands ready for every practice session.

- Paul Kleiman